Indoor Plant Investigation 1
Quantum Flux Matrix Array Lighting System
Purpose is to investigate the efficiency of growning plants indoors to create a continuous supply of fresh greens and what not for salads and other dishes.
 Selected light source based on the requirements of low power usage (25 watts), reduced heat resulting in the use of less water, focused wavelengths with light specific for the needs of plants, and continuous light source (flourescent bulbs have less light at the ends up to six inches in some).
For information about the choice of a light source for the investigation check out these sites:
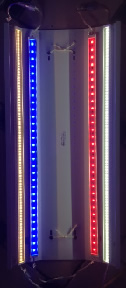
The light system with four LED light bars:
- QCWL-23.5 6000K 3813 Versa bar
- LK2G2-22.5 RED 2214 bar
- LK2G2-22.5 BLUE 2214 bar
- QCWL-23.5 2500K 4113 Versa bar
New - Investigation 2: Different greens, tomato, and 8 wave light system simulating morning, noon, dusk
New - Investigation 3: Grass at different distances from 4 wave light source.
and summary information on Plants to grow or not...
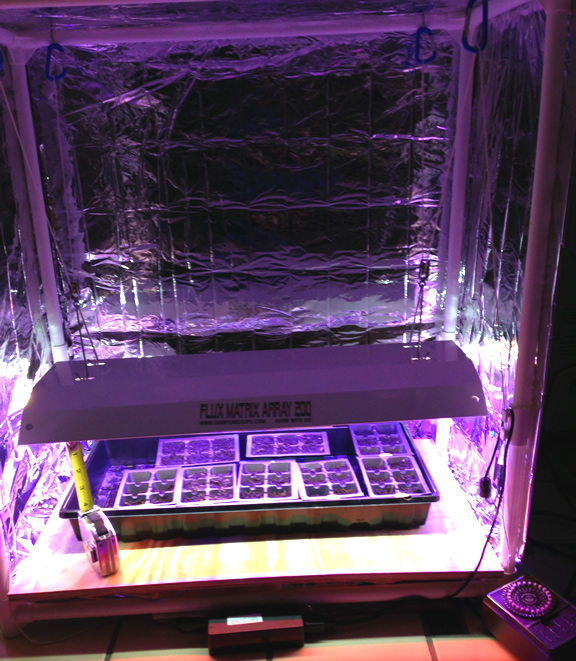
Growing chamber with reflective curtain down

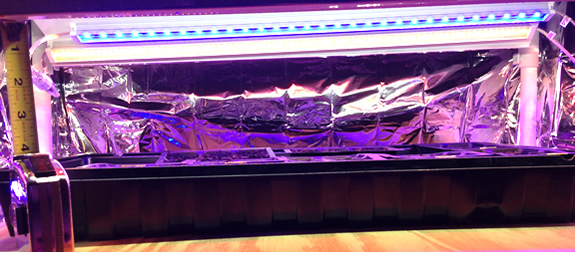
Growing chamber with reflective curtain up
Planting data
Day one - Used plant mix that was fairly damp, filled each plastic container, inserted seeds, tamped the soil, and added more soil to surface.
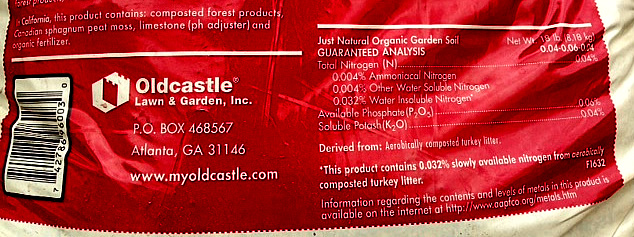
Organic Garden Soil information:
Planted the following seeds: one in each container except watercress, 2 per container.
- 12 peas
- 6 radishes
- 6-12 watercress
- 6 beets
- 6 spinach
- 6 kale
- 6 arugula
Didn't water for two days as the soil was fairly damp.
The temperature is maintained between 65 and 70 degrees.
Day two
Added two cup of water to large black plastic container.
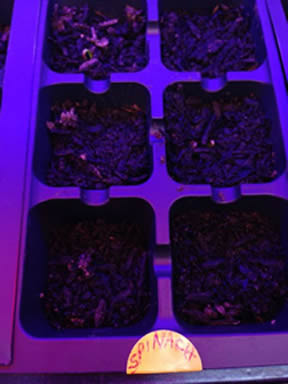
Close up of plant containers 4 inches below light source
Day four
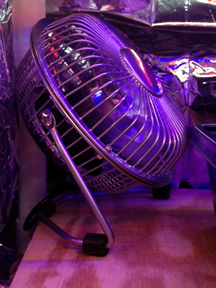
- Added small fan.
- Sprouts are emerging.
- Added two cups water to large black tray for bottom watering.
- Light timer set at 16 hours. Turning on at 5:00 am and off at 9:00 pm.


Day 6-10
Day 6, 8 10 added two cups of water to large black tray.
Day 9 started running fan only when lights are on.
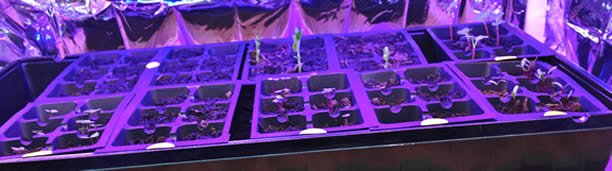
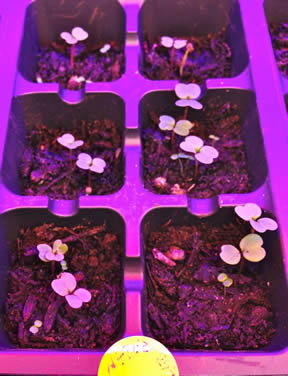
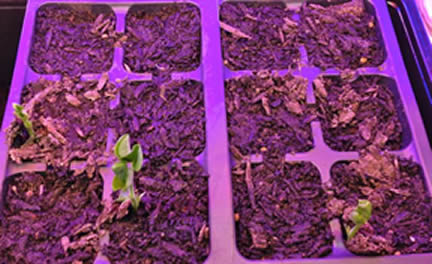
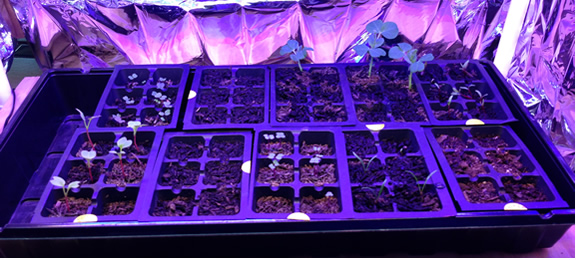
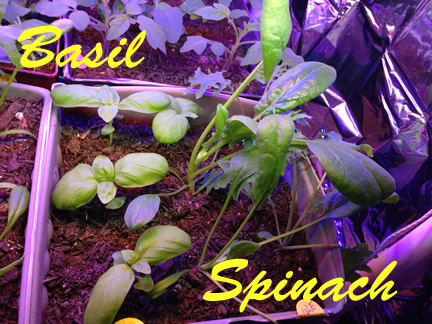
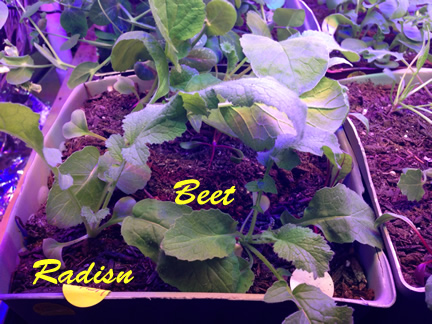
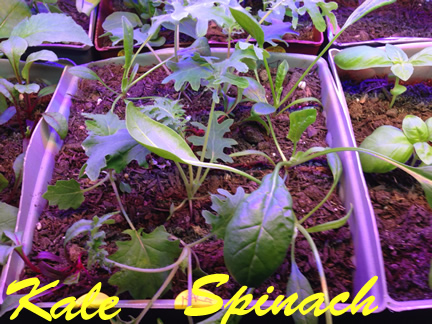
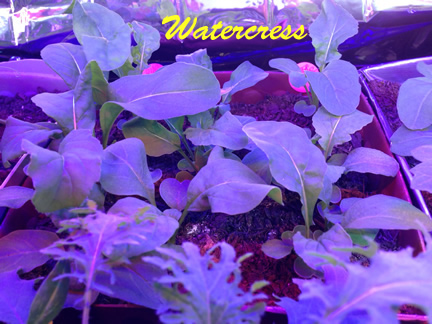
Day 10 images:
All plants
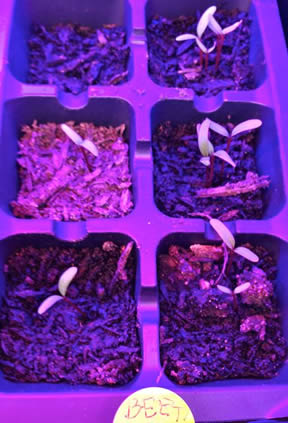
Beets and Kale: surprise... don't know how I got extra seeds in some of the sections. Sticky fingers?

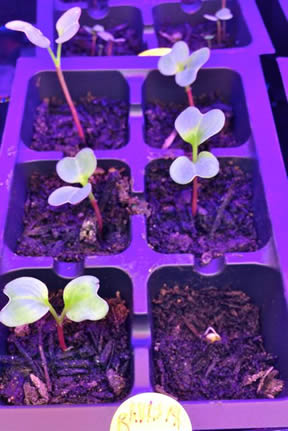
Radishes and Spinach
Watercress
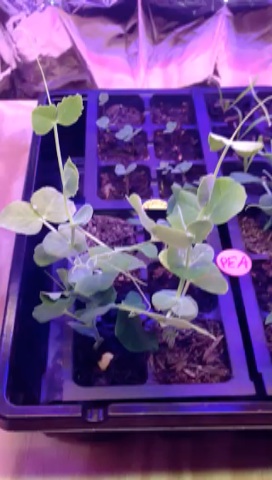
Peas
Planted six Tomatoes and six Basil seeds.
Day 12
Wondering about the seeds that have not germinated so I used a pen knife to poke around and found the following seeds:
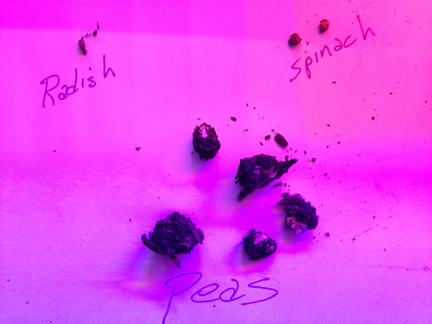
The radish seed seemed to just not develop. It was close enough to the surface that part of it was exposed, but just did not develop.
Eight pea seeds were there, sorta powdery. No sign of germination. Another had germinated, but not near the surface so I left it to see if it would develop more.
2 spinach seeds showed sign of germination.
Couldn't find any arugula...
I replanted 2 spinach seeds, 8 pea seeds, 1 radish, and 18 arugula seeds three per section of the 6 sectioned container.
Added 2 cups of water to the bottom container
Day 13
Added some water to some sections that didn't seem to get water from the bottom from yesterday. Here is a recent photo of all...
Day 14 , 15, 16
Day 14 - spot watered some sections with 10 ml of water that were dry 2 from the top down 2-3 cm. Let fan run 24 hours.
Day 15 - watered with 3 cups from the bottom. Let fan run 24 hours.
Day 16 - let fan run 24 hours.
Day 17- watered with 3 cups from the bottom
Day 20 - 3 cups of water from the bottom, next morning added 5 ml to two 1/6 sections that had no moisture on top. Fan continues to run 24 hours.
Day 22 - 3 cups water from bottom.
Day 13, 15 or 25
Video of all plants from three plantings so oldest plants are 25 days, the tomatoes and basil are 15 days and the replanted seeds are 13 days.
Procedure for watering
Place the planting box or boxes into a larger water tight container. Pour an inch or two of water into the larger container, depending on the volume of the larger water tight container and place the planting box into it. The planting box should have holes in the bottom of its container. Let it sit for about 20 minutes, then check the moisture level of the soil in the panting box. Insert your finger or a Popsicle stick size of implement between the stems of the plants and the outside edge of the box. If the soil is dry below an inch or two, then leave the planting box in the water for another 20 minutes. If the water is gone, then add some more water to the water tight container. If the soil is moist above two inches or so, then remove the remaining water from the larger water container.
Re-potting
I noticed a change in leaf color in some pea plants and decided it was time to re-pot peas. On day 26 I re-potted the peas and the rest of the plants on day 18 for later plantings and day 30 for the early plantings. I definitely waited too long to re-pot the peas and maybe the radishes and beets.
I found re-potting will improve the performance of the plants. Indications for a need to re-pot: small leaves, wilting between watering, and yellowing of lower leaves might indicate the plant has outgrown its container, however my plants only had some leaves lighten in color. Also if roots can be seen at the surface or stick out of the bottom of the pot, it's time to re-pot. A new pot should be no more than 2 inches larger than the current one. When I start seeds in these small containers in the future I would re-pot after about 14 days.
Watering after re-potting
In my situation after after re-potting I used 5 cups of water in the outer water proof container the first time I watered and 4 cups about every five days after that.
My research on bottom watering suggested that bottom watering might cause calcium and other salt build up, which can cause root damage and kill a plant. This would be a reason to water with filtered or distilled water, which I have been doing. It further suggested it is important to pour away excess water after watering so the bottom of the plant pot is above the level of any water in the water container after watering, this will allow excess water to leach from the plant pot and not accumulate calcium build-up.
If there is a build up of salt or calcium the soil may be leached by pouring water, about twice the volume of the pot, over the soil and letting it drain completely. It would also be good to remove the top layer of the soil if it is crusty, before leaching.
Another strategy would be to have a layer of gravel under the pot to prevent re-absorption of water.
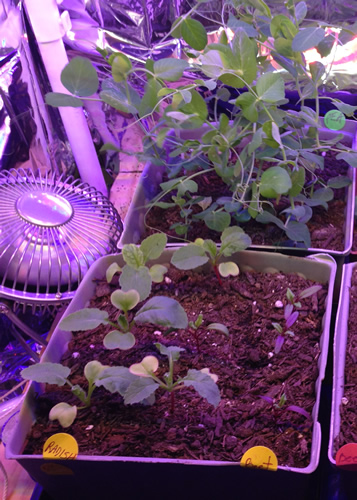
Plants after re-potting and day 24 or 36

Day 28 or 40
Added 1/2 ounce or teaspoon of fertilizer (Foxfarm Grow Big 6-4-4) to a gallon of water and added five cups of fertilizer water to larger container for bottom watering and feeding.
Day 43
Day 44 a pea plant has a blossom
Peas are growing okay. Probably would be good to provide them support, but since they are so tall and the other plants not so tall I don't want them to get taller just bushier. I have put the light source at an angle so one end is four inches above the shorter end of the plants in the growing chamber and is about two inches above the pea plants on the other end of the chamber.
Day 34 or 46
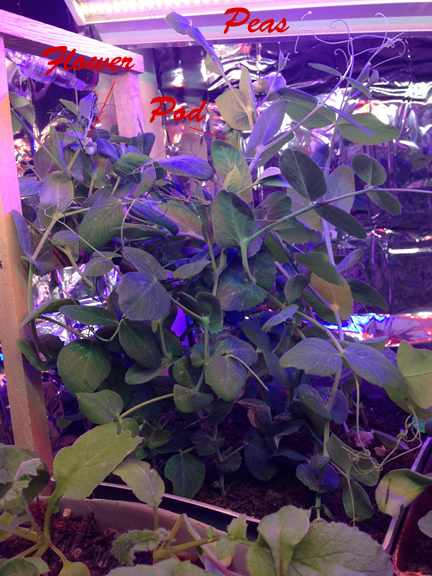
Day 46 more blossoms and one pod.
Repeated treatment of 5 cups of fertilizer water to larger container for bottom watering and feeding. The water was absorbed so fast I decided to add 3 more cups.
Arugula, spinach, kale, basil and tomato growing pretty well.
Root plants: beets and radish are not growing large roots. Roots seem to elongate above and below ground to make plant top heavy. Not sure why.
I gave into providing support for the peas by adding a kind of trellis on one side of the pot. Maybe will encourage them to grow sideways.
First is a picture of all six containers: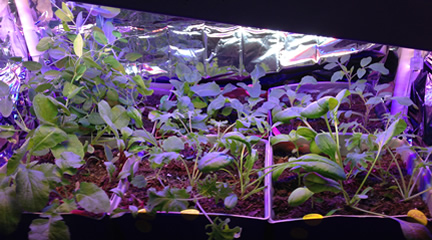
The following close ups of each container:
Notes I found on beets: Each beet seed is a fruit and has multiple seeds in it. That could explain how I ended up with more than I planted. I also found they probably need grater soil depth than what I provided. One article said about 12 inches and 6 beets per 12” container. Another mentioned 17 inches.
Day 36 or 48
I concluded that growing beets and radishes for their roots indoors, the containers needed to be deeper than what I had selected which are about 4 and one-half inches deep. Therefore, I removed the beets and radishes. Moving the beets outside to see if they might be salvaged.
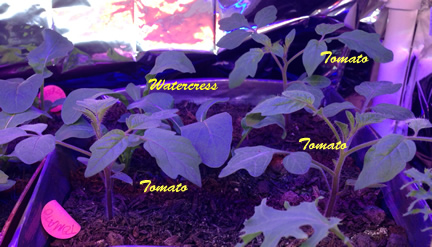
I moved four watercress plants from the tomatoes into the now empty container and left the three tomato plants in that container.
I added 3 cups of water to each large container for bottom watering.
Day 49
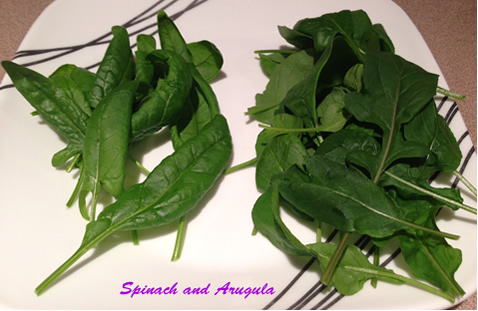
Cut: Spinach, arugula, kale, watercress, beet leaves ... results
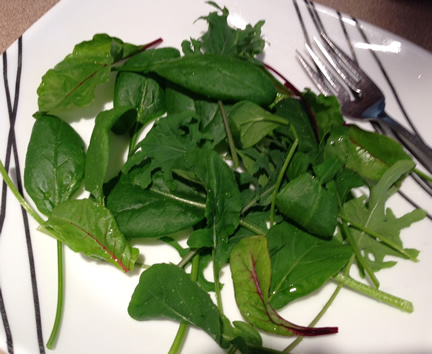
Mixed these greens with a nice pile of bean sprouts that we germinated in a seed sprouting container for four days, some store bought carrot slices, romaine lettuce, and tomatoes. A touch of our favorite dressing and yum yum.
Day 52
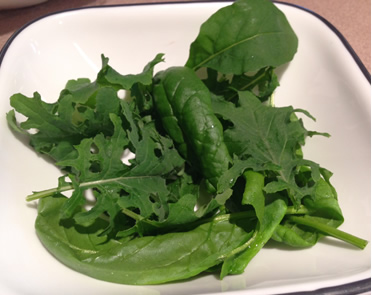
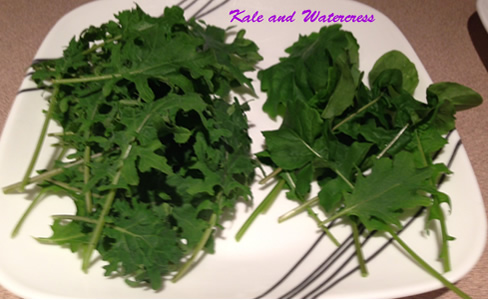
Cut some more: Spinach, arugula, kale, watercress ... results and ate them all up...
Day 54
Added four cups fertilizer water to bottom of container with tomatoes, spinach, kale
Day 59 Massive harvest
Decided to harvest:
Cut all leaves, but central core of kale, spinach, watercress, arugula.
Cut the bottom two leaves above seed leaves of the basil plants.
And all pea pods.
Results:
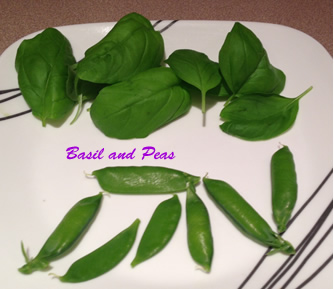
This is what the plants looked like after: Size ranges, as you can see with some low ones in the back of the containers to the tall spinach in the front that is flowering and had powdered pollen spread across the leaves of plants in its container.
Be interesting to see if they will grow harvest-able leaves.
So far the average amount of leaves for each of the leafy plants is about five. With six plants to a container, that would yield 30 leaves per container and four containers yielding 120 leaves.
When I added other ingredients it made five salads. If I determine five salads is about what I would want for two weeks, then to produce enough greens for me continuously I would need to produce that many leaves every two weeks. Considering these were grown in about 8 weeks, that would require four times as many planted alternately or 12 containers, If I would place 12 containers under two light units in similar set ups I would achieve this. If I am able to grow additonal leaves from these plants, that will change this conclusion. Would it be better to replant after an initial harvest or to let them grow to get a second harvest. We will see...
Tomatoes ... ...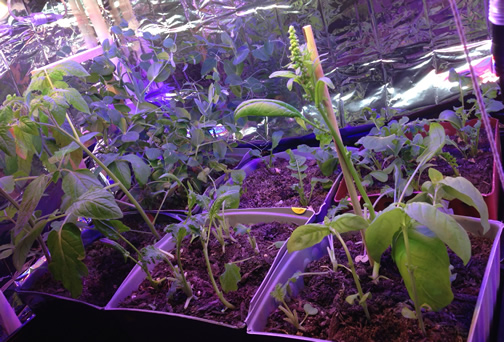
Day 76
All plants day 76: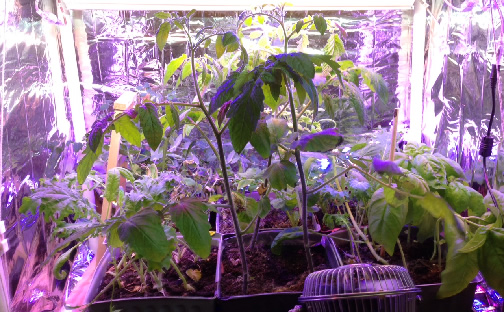
Decided the peas, arugula, spinach, watercress, and kale were ready for a last cutting and time to replace them with a new planting.
Basil is growing well and tomatoes are beginning to have buds. Will continue to grow these and have decided the system was worthy of trying an additional setup. See investigation 2 for information on it.
The tomatoes and basil will remain in this system and red peppers will be added with a third pot. Also switched a red light bar with deep red.
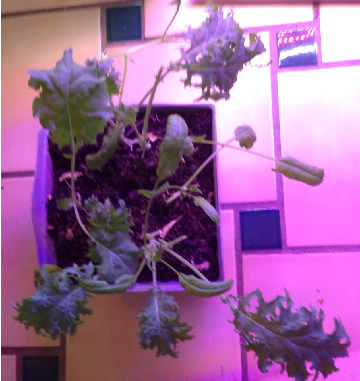
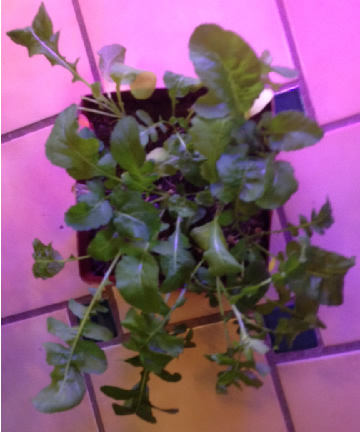
Arugula, spinach, kale, and watercress after two cuttings before last cutting: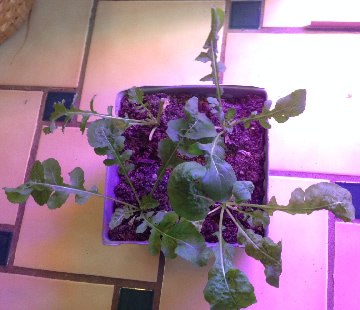
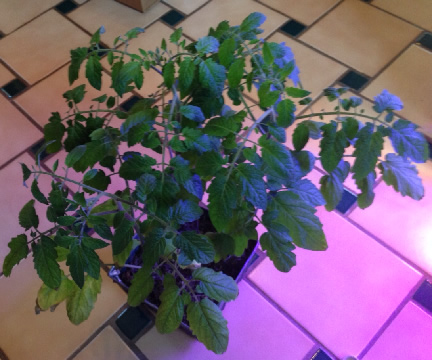
3 Tomato plants:
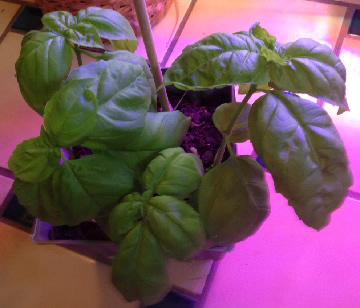
Basil:
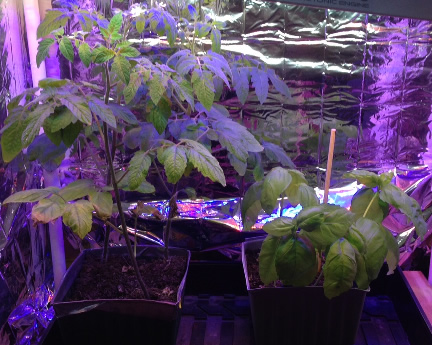
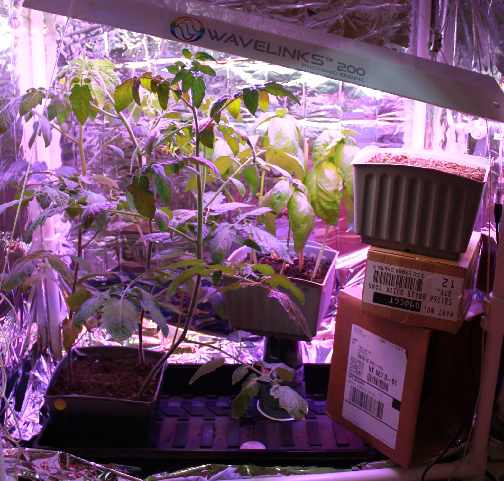
Current set up:
Day 89
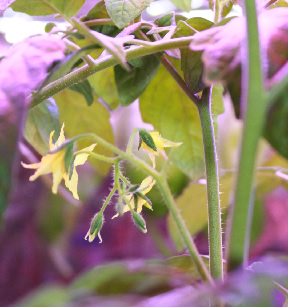
Tomatoes, Basil, and 10 day old pepper plants. Top three move in closer, next is a close up of tomato flowers, and last is basil harvest.
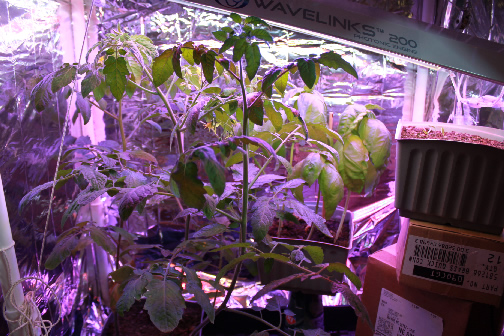

Day 100
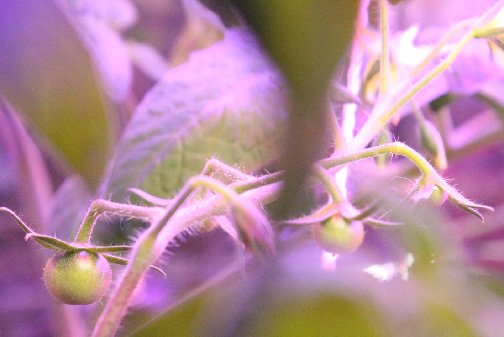
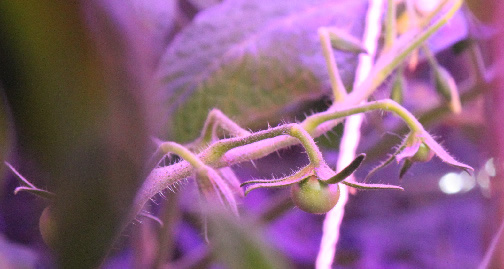
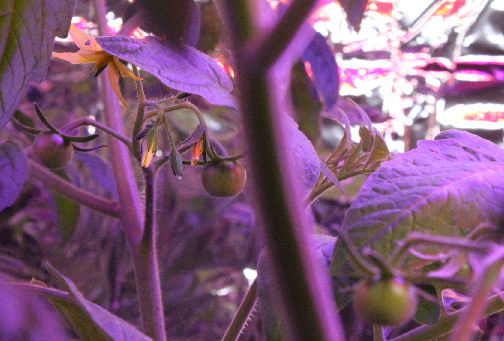
Tomatoes
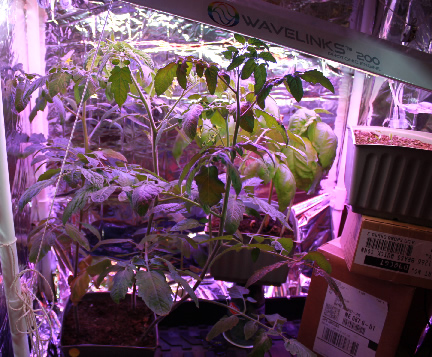
Day 109
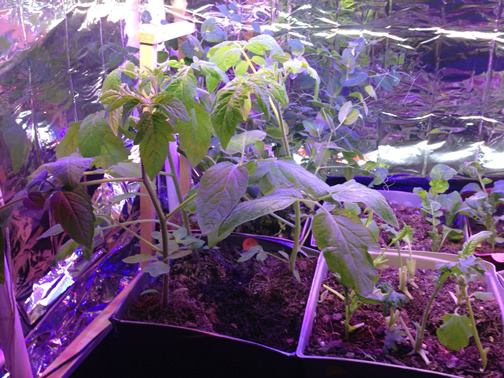
Transplanted 15 day old pepper plants and 15 day old tomato plant from investigation 2.
Decided to see how putting tomatoes into a bigger pot and staking them would effect them.
Kept the basil as is. It seems to tolerate less soil depth and produce large healthy leaves.
Investigation 2 had small fruit fly like insects that were becoming annoying so after 25 days I decided to stop that investigation and eat it (the greens) see investigation 2 for details.
With investigation2 shut down I consolidated what I have mentioned under both lights for now. I will leave these for a few weeks to see how they grow and decide how to start new investigations in about a month.
Current set-up.
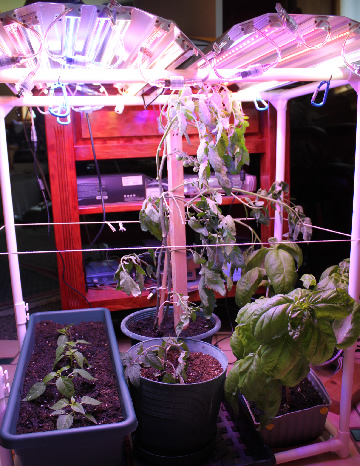
Tomatoes look a little droopy, hope they come back. Lost a a couple of stems in the confusion. I first put them into a chicken wire ring and that was too confining so settled for staking them. Looking to the future so will see how they adapt.
Days to come
investigation on going ...
updates later ...
New - Investigation 2: Different greens, tomato, and 8 wave light system simulating morning, noon, dusk
New - Investigation 3: Grass at different distances from 4 wave light source.