Time
Instructional notes to explore & teach telling time with an analog clock
Questioning is the basis of all learning.
Overview
Introduction
This page includes general suggestions to learning about time and a sequence to introduce learners to telling time with an analog clock!
Exploring the time of day
Questions for time of day.
- What time does the sun rise?
- What time does the sun set?
- What time do you get up?
- What time does school start?
- What time do we eat lunch?
- What are some activities we do at 8:30 a.m.?
- What are some activities we do at 12:30 p.m.?
- What are some activities we do at 4:00 p.m.?
- What are some activities we do at 8:30 p.m.?
- What time do you go to bed?
- What are some activities we do at 2:30 a.m.?
Exploring seasonal time
Questions for seasons
- What can you do in winter that you can't in summer?
- What sports are mostly played in spring, summer, fall, winter?
- What clothes are worn in summer? winter? fall? spring?
- What season is Thanksgiving?
- What season is Christmas?
- What season is the fourth of July?
- What month is spring break?
- What season has a long school break?
- What months fit with each season?
- Winter
- Spring
- Summer
- Fall
Primary grade unit for animals includes
Video to explore the cause of seasons, middle level.
Unit to explore relative positions to provide background for understanding moon phases, seasons and other positional, middle level.
Exploring an Analog Clock
Learning sequence
Introduce a concrete representation for hours on an analog clock.
Start with a very big handless clock or a circle with numners 1-12 as they are on the dial of a clock.
- Introduce the very big handless clock with numerals 1-12.
- Ask the learners. What does this look like? a clock
- Attach it, or another similar image, to a large sheet of craft paper.
- Ask. How many hours does the number one represent? one
- If we let a blocks or polka-dots represent an hour, how many blocks or polka-dots would we need to put beside it? one
- Ask. How many hours does the number two represent? two
- If we let a blocks or polka-dot represent two hours, how many blocks or polka-dots would we need to put beside it? two
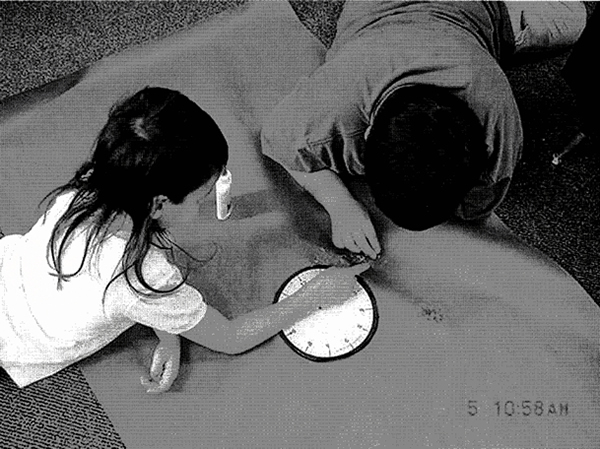
- Ask. Who wants to put blocks or polka-dots around the perimeter, one for each hour or glue dots for each minute.
- Count the blocks and write how many are at each point.
- How many blocks are there at each number (1-12)?
- What does that mean.
- Stack blocks to represent the hour value for each numbered place 1-12 (one block at the one for one hout, two blocks at the two for two hours, and so on).
- Practice having learners point to different numbers and ask others what the hour value is.
- Introduce a clock face with lines inplace of numbers.
- Discuss strategies to remember what value is at different points around the clock.
- If desirable put blocks at the points of 3, 6, 9 & 12 hours.
- Ask. How many blocks would be at each hour and write the values on the clock.
Introduce a concrete representation for minutes on an analog clock.
Start with a very big handless clock or a circle with numners 1-12 with lines between them. Four lines between each to represent minuetes as they are on the dial of a clock.

- Introduce the very big handless clock with numerals 1-12 and lines between them to represent minutes.
- Ask. What does it look like? a clock
- Attach it or another similar image to a large sheet of craft paper.
CHOOSE TO START WITH ONE LINE OR THE NUMERAL ONE!
- Ask. How many minutes does the first line represent? one
- If we let a lock block or polka-dot represent a minute, how many blocks or polka-dots would we need to put beside it? one ... OR
- Ask. How many minutes does the number one represent? five
- If we let a block or polka-dot represent a minute, how many blocks or polka-dots would we need to put beside it? five
- Ask. How many minutes does the second line represent? two
- If we let a block or polka-dot represent a minute, how many blocks or polka-dots would we need to put beside it? two ... OR
- Ask. How many minutes does the number two represent? ten
- If we let blocks or polka-dot represent the number of minutes at the two, how many blocks or polka-dots would we need to put beside it? ten
- Ask. Who wants to put blocks around the perimeter, one for each minute or glue dots on to represent minutes.
- Count the blocks and write how many are at each point. Can vary between numbers and lines or stick to one or the other until the answers are consistent and accurate. Then swithc it up according to the learner's needs.
- How many blocks are there at each number (1-12)?
- What does that mean?
- Stack blocks to represent the minute value for each numbered place 1-12 (five blocks at the one for five minutes, ten blocks at the two for ten minutes, and so on).
- Count by fives.
- How does that compare to counting by ones?
- Practice counting and have a learner point to different numbers and ask the others what the value is.
- Discuss strategies to remember what value is at different points around the clock.
- If desirable put blocks for the other minutes or ask students how many blocks would be at each minute and write the values on the clock.
Introduce an analog clock as a concrete representation of minutes.
Move to a one Handed Clock
- Next put an hour hand on a clock to make a one handed clock.
- Move the hand and have students tell the time by saying something like one o'clock, one something, 12 something, or two something…
- Create a rule that explains how they decide what to say.
Last a two Handed Clock
- Introduce a clock with two hands.
- Have learners explain how the hands move.
- What is the relation of each.
- Have them demonstrate how each hand moves for minutes, hours, and a day.
- In groups have them write a rule for telling time to the minute and hour.
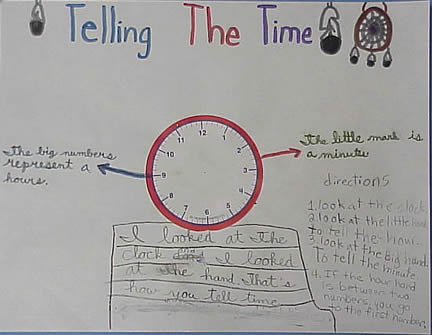
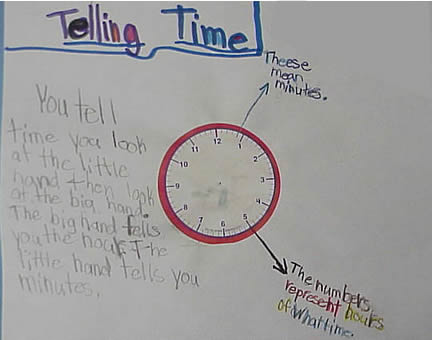
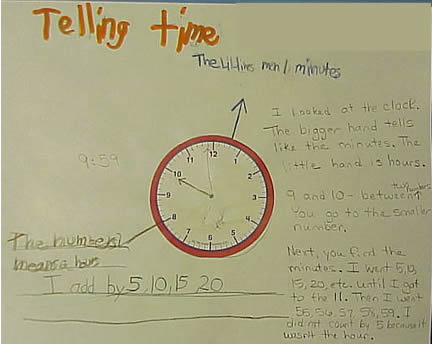
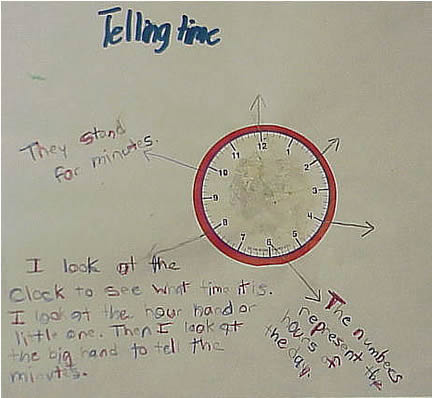
Sample rules created by students
Estimating and Calculating Length of Time
- Have learners show the placement of hands for before, later, earlier…
- Have learners shade the area swept by the hands to tell the time elapsed from one time to another.
- If they sweep past the hour have them cross off the present hour and continue to do so every time the hand passes another hour.
Move on to using different time telling language like "till" & "after" ...
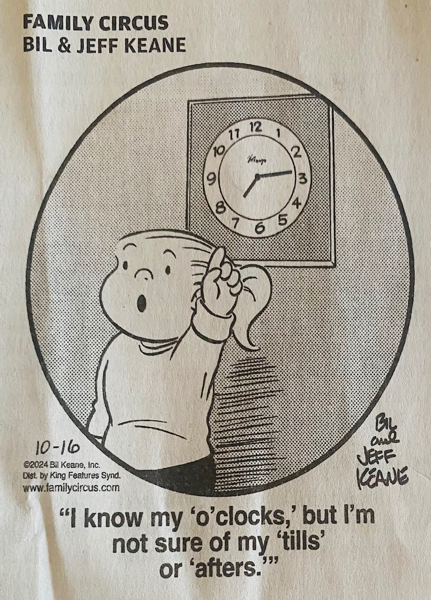
Photo album
Students working
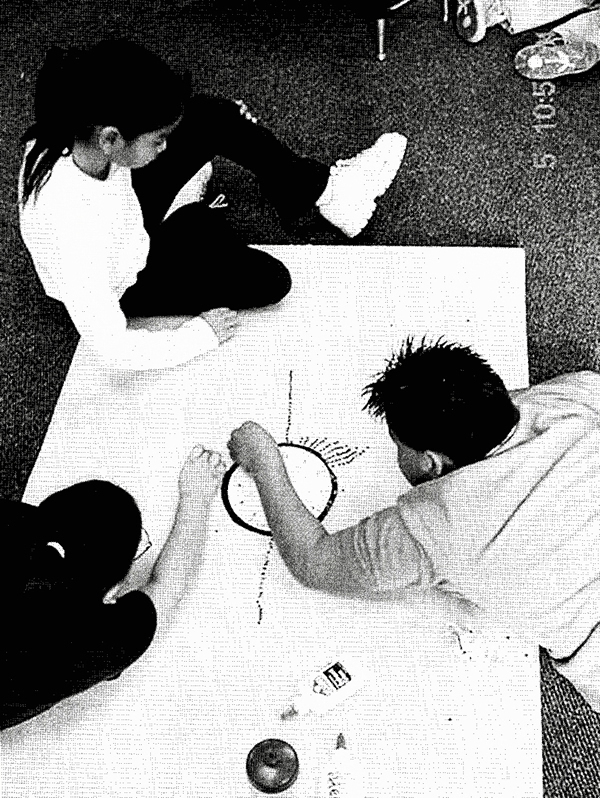
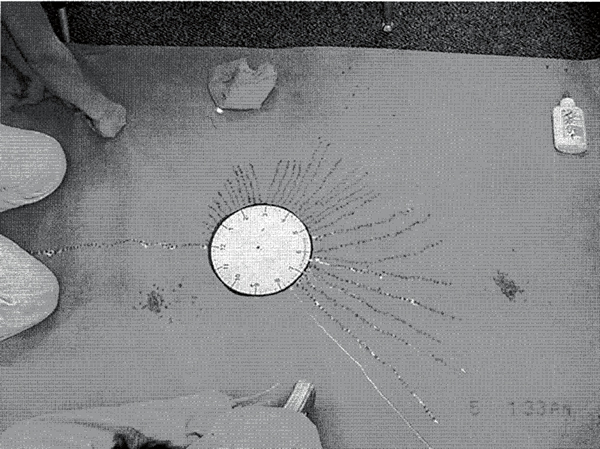
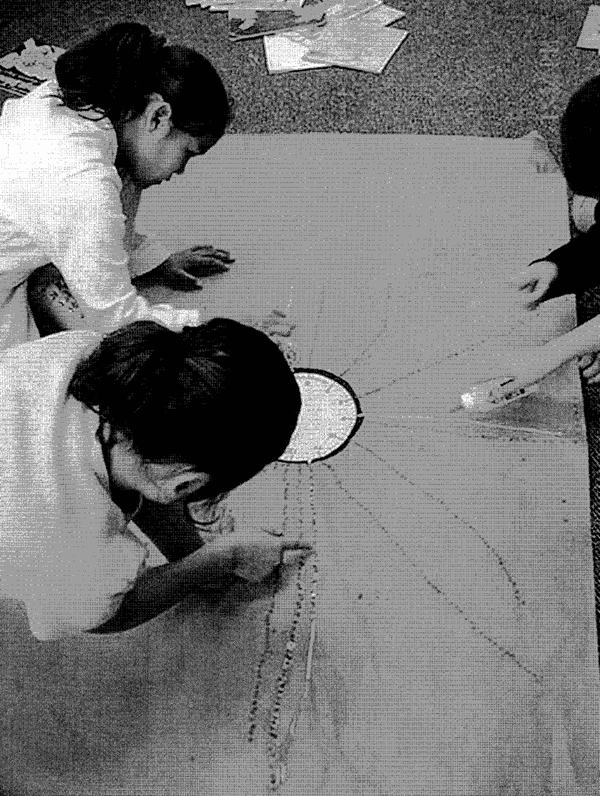
Students work samples for Telling Time!
